
Last Updated: November 12, 2026
Quick Summary
To purge household items quickly, pick one small area, set a 30 to 45 minute timer, and sort each item into keep, donate, discard, or unsure piles. Make each call in three to five seconds and move on, revisiting the unsure pile at the end.
- Set a kitchen timer for 30 to 45 minutes and pick one small area to start.
- Gather labeled boxes, bins, and heavy-duty bags before you begin sorting.
- Give each item a decision limit of about three to five seconds per item.
- Use a 90-day rule: if you have not needed an item in three months, let it go.
- Schedule bulky-item pickup and donation windows before sorting so piles leave on time.
Table of Contents
- Set a Timer and Pick One Small Area to Start
- Gather Boxes, Bins, and Bags Before You Sort
- Sort Every Item Into Keep, Donate, or Discard
- Decision Rules for Sentimental, Expensive, and Possibly Useful Items
- Items to Purge First and What to Get Rid of Quickly
- How to Dispose of Old Appliances Safely
- Using a Purge Plan When You Are Preparing to Move
- Booking Your Removal Visit for a Faster Clean Out
- Frequently Asked Questions
Set a Timer and Pick One Small Area to Start
Most people who try to purge household items quickly fail for one simple reason: they start too big. A whole basement or an entire garage feels impossible, so they stop before they begin. The fix is to pick one small area and give yourself a fixed time limit.
Start with a kitchen timer set for 30 to 45 minutes. Choose a single drawer, one shelf, a closet corner, or one bag of loose items. A short window keeps decisions fast and stops overthinking.
- Pick one small area, not a whole room
- Set the timer before you touch anything
- Stop when the timer ends, even if you want to keep going
- Come back tomorrow for the next small area
Gather Boxes, Bins, and Bags Before You Sort
Sorting goes faster when your containers are ready. Stopping mid-session to hunt for a box breaks your momentum and gives you time to second-guess decisions.
Before you begin, collect three types of containers. Use boxes or bins for items you plan to donate, heavy-duty trash bags for discard, and a clearly marked box or bin for things you are still unsure about. Label each one so anyone in the house knows where things go.
Many people also find it helps to grab a roll of tape, a marker, and a few contractor-grade bags. Having everything in one spot keeps the room from turning into a bigger mess than when you started.
Sort Every Item Into Keep, Donate, or Discard
Sorting is where the real progress happens, and speed comes from mechanics rather than willpower. Set up your three containers in a row, keep, donate, discard, plus a fourth clearly labeled “unsure” bin. Work clockwise around the area and handle each item exactly once. Pick it up, make the call, and drop it in a container before you touch the next thing.
A simple test works well for most items. Ask whether you have used it in the past year, whether it still works, and whether you would buy it again today. If the answer is no to most of those questions, it is likely ready to leave your home. Give yourself a hard decision limit: about three to five seconds per item. Anything that stalls you past that limit goes in the unsure bin, and you keep moving.
- Keep: Used regularly, in good condition, and needed in your daily life
- Donate: Working and usable, but no longer needed in your home
- Discard: Broken, stained, expired, or not safe to reuse
- Unsure: Anything that stalls you past a few seconds, revisit at the end, not during the sprint
Close the loop on the unsure bin before you stop for the day. Set a second short timer, dump the bin on the floor, and force a keep or donate call on each item. A common pattern is that most of the unsure pile ends up donated once it is out of its original spot.
Watch out: sorting in a room where other household members can interrupt you slows the session to a crawl. Move your containers to a doorway or hallway and sort there, so people see progress instead of a mid-sort mess.
Use this quick reference to decide where each item goes during your sort.
| Pile | Use it for | Quick test |
|---|---|---|
| Keep | Used regularly, in good condition | Needed in your daily life |
| Donate | Working and usable | No longer needed in your home |
| Discard | Broken, stained, expired, or unsafe | Not safe to reuse |
| Unsure | Anything that stalls you past a few seconds | Revisit at the end, not during the sprint |
Decision Rules for Sentimental, Expensive, and Possibly Useful Items
These three groups cause the most delay. A few clear rules help you move through them without guilt.
For sentimental items, keep the ones that tie to a specific memory you value and can display or use. Photograph the rest, then let them go. A photo keeps the memory without the clutter.
For expensive items you never use, ask whether you would pay that price again today. If not, sell or donate it. Money already spent should not keep an item stored in your home for years.
For possibly useful items, set a 90-day rule. If you have not needed it in three months, it is probably safe to let go. Most people never miss the things they donate.
Items to Purge First and What to Get Rid of Quickly
Some categories almost always belong in the donate or discard pile. Start with these to build momentum fast.
- Expired food, spices, and medications
- Duplicate kitchen tools and extra towels or linens
- Old cords, chargers, and electronics you cannot identify
- Clothing that no longer fits or has damage
- Outdated magazines, manuals, and paperwork you can find online
- Broken small appliances and decorative items you do not display
Working through these categories first clears space quickly and makes harder decisions feel easier later.
How to Dispose of Old Appliances Safely
Large appliances need special handling, and so do several smaller categories that should never go in ordinary trash. Refrigerators, freezers, and air conditioners often contain refrigerant or other materials that should not go in regular trash (the EPA). Check whether your local waste service or recycling center accepts them, and remove any doors from refrigerators and freezers before pickup to prevent accidental entrapment. Keep the appliance away from children while it waits for removal. If the unit contains a battery or fuel, drain or remove it first. Many local programs will take working appliances for donation, which keeps them out of landfills.
For a full step-by-step process, see our guide on how to dispose of an old refrigerator.
The same responsible-disposal logic applies to the rest of your discard pile, and this is where most fast purges stall. Sorted clutter lingers because people do not know where it is allowed to go. Handle these categories separately from your regular trash:
- Batteries: Tape the terminals of lithium and rechargeable batteries and take them to a retail drop-off or household hazardous waste site (the EPA). Do not toss them in curbside bins.
- Electronics: Use a manufacturer take-back program, a retail electronics recycler, or your local household hazardous waste event. Wipe personal data before you hand over phones, laptops, and tablets.
- Chemicals and paint: Keep products in their original labeled containers and route them to a household hazardous waste collection. Never pour them down a drain or into storm sewers (the EPA).
- Medications: Use a pharmacy take-back kiosk or a DEA-authorized collection site rather than flushing them, unless the label specifically directs flushing.
- Bulky items: Mattresses, furniture, and carpet usually need a scheduled bulky-item pickup or a drop-off appointment. Confirm the pickup window before you drag anything to the curb.
A practical way to keep momentum is to schedule disposal before you sort. Book the bulky-item pickup, note the next household hazardous waste collection date, and set the donation pickup window for the day after your sorting session. That way the piles leave on a deadline instead of becoming permanent furniture.
Watch out: donation centers reject items that are stained, broken, or missing parts, and those rejects often end up back in your garage. Sort donate items against the receiver’s accepted-items list before the pickup, not after.
If you are weighing whether professional removal is worth the cost, compare local junk removal services before you book. When you are ready to schedule, request a quote from a local provider or read how to book local junk removal service for step-by-step guidance. Pricing depends on the amount of material, the access to the items, and the date, so ask for a no-obligation estimate for an exact figure. Payment is accepted by cash, check, major credit or debit cards, and Zelle.
Using a Purge Plan When You Are Preparing to Move
Moving is one of the best reasons to purge. Every item you pack costs time to wrap, carry, and unpack. Sorting before the move cuts your packing time and lowers your moving costs.
Start about six weeks before moving day. Work through one room per week, using the keep, donate, and discard system. Save the donate pile for pickup close to your move date, and do not pack discard items at all.
A common mistake is packing first and sorting later. That approach moves clutter to a new home without solving the problem.
Booking Your Removal Visit for a Faster Clean Out
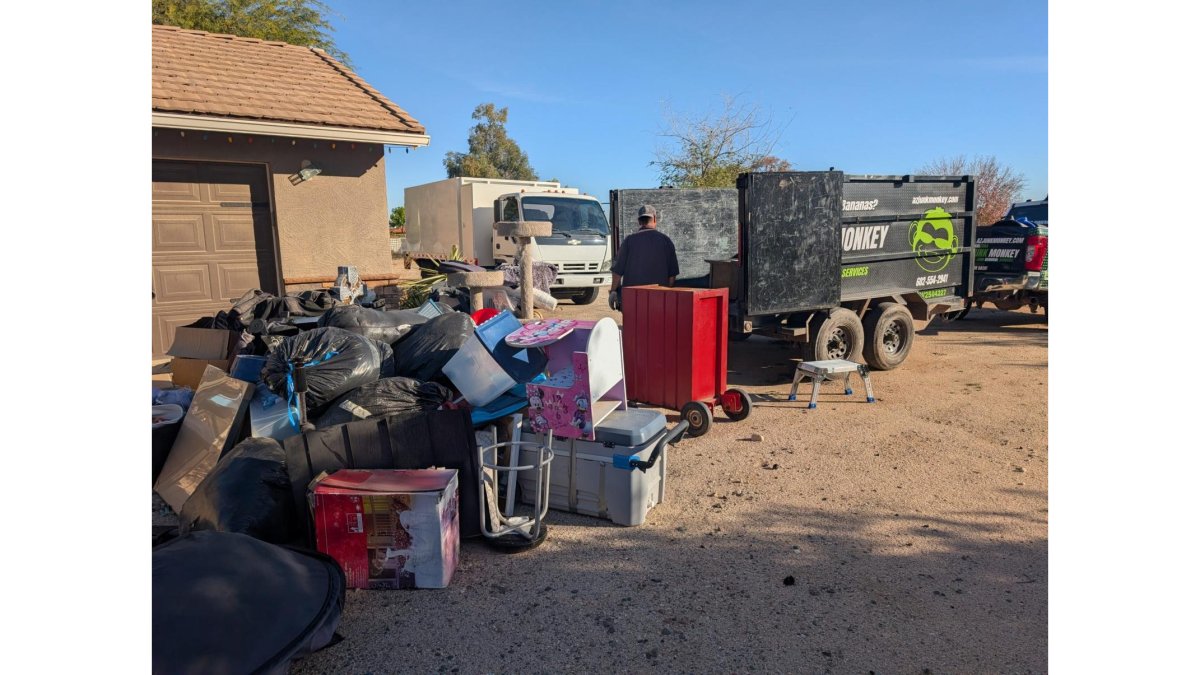
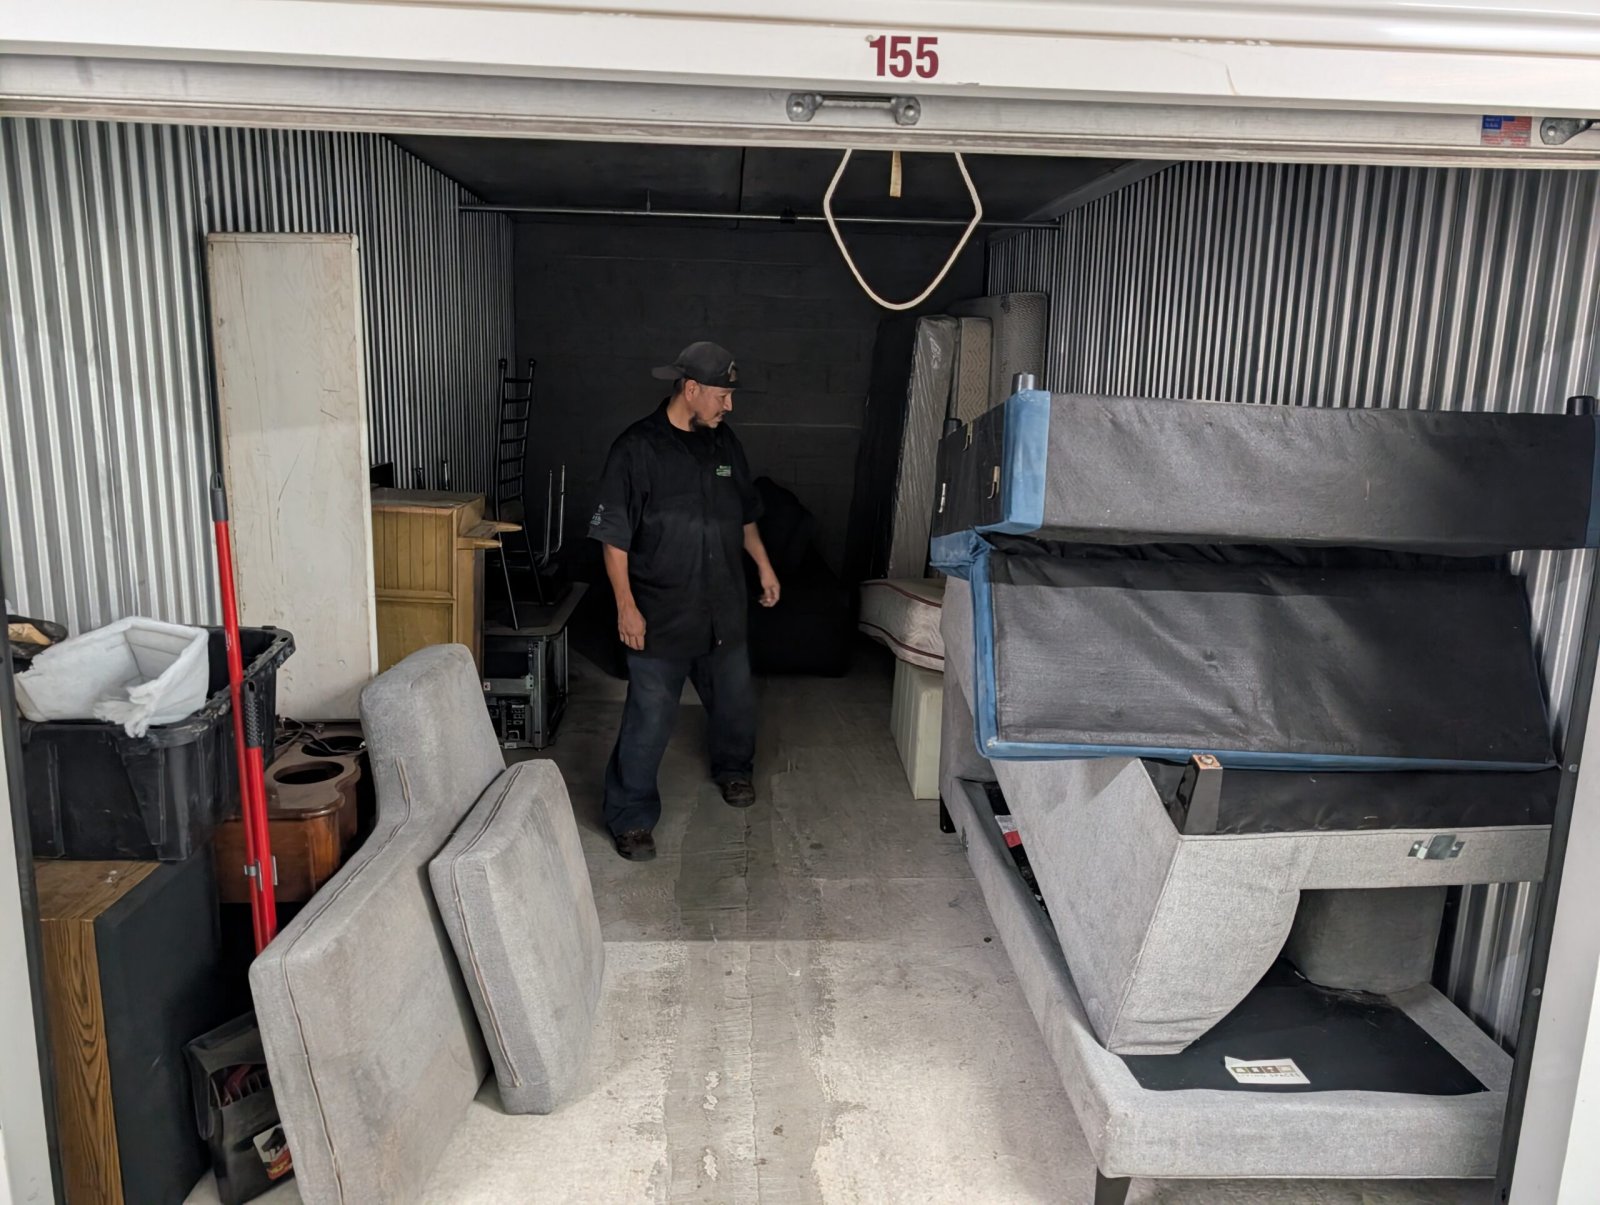
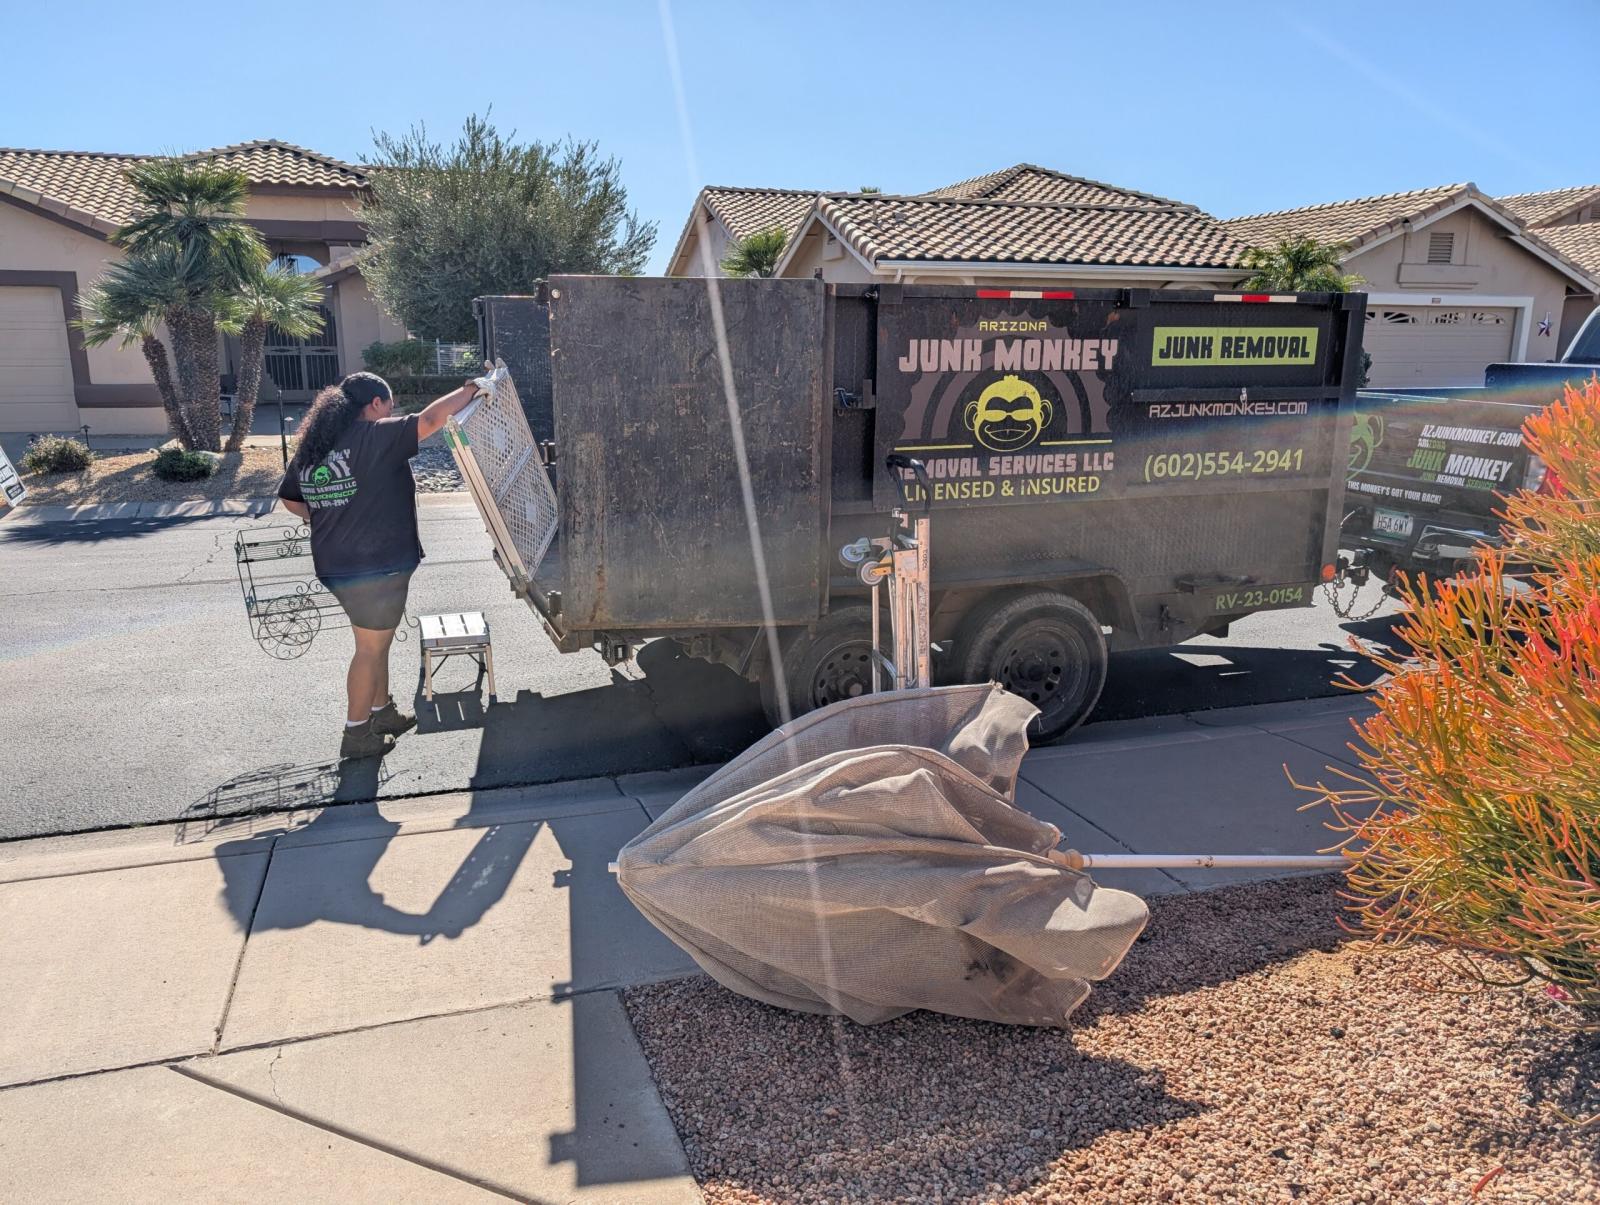
Some purges are too big to finish alone. Heavy furniture, old appliances, and full garages often need a second pair of hands. Arizona Junk Monkey Removal Services offers junk removal for residential and commercial clients across the Northwest Valley. The team is local, family-owned, licensed, and insured.
If you are weighing whether professional removal is worth the cost, compare local junk removal services before you book. When you are ready to schedule, request a quote from a local Tolleson provider or read how to book local junk removal service for step-by-step guidance. Pricing depends on the amount of material, the access to the items, and the date, so ask for a no-obligation estimate for an exact figure. Payment is accepted by cash, check, major credit or debit cards, and Zelle.
To get started, call or text Arizona Junk Monkey Removal Services today.
Frequently Asked Questions
How do you purge a house quickly?
Work one small area at a time with a timer set for 30 to 45 minutes. Sort each item into keep, donate, or discard as you pick it up, and do not reopen decisions you have already made. Bag the trash and stage donations by the door right away so they do not drift back into the room. Starting with obvious clutter such as expired products, broken items, and duplicates builds momentum before you reach sentimental belongings.
What is the hardest thing to get rid of when decluttering?
Most people find sentimental items and things they paid a lot for the hardest to let go. A practical test is to ask whether you would buy the item again today and whether you actually use or display it. If an item is only kept out of guilt, you can photograph it, keep one representative piece, or pass it to a relative who wants it. Setting a rule for these items in advance keeps you from stalling in the middle of a sort.
How do you dispose of old appliances when you have several at once?
Start by checking whether a broken or old appliance still has a refund, trade-in, or working parts that someone could use. Remove doors from refrigerators and freezers before they are moved, and check local rules for how refrigerant-containing units must be handled. Many local programs and retailers accept old appliances, but the rules vary, so confirm before you schedule a pickup. If you have a garage full of dead units, a single removal visit is often faster than sorting out individual drop-off options.
How do you purge your house before a move?
Begin about six to eight weeks before the move so you have time to sell, donate, or dispose of items without rushing. Go room by room, and do the garage, storage areas, and closets last, since they tend to hold the most unused items. Packing only what you will use or want at the new home reduces moving costs, because you pay to transport everything you bring. Use one box for donations and one for trash so the leftovers do not get loaded onto the truck by mistake.